From inside (document excerpt):
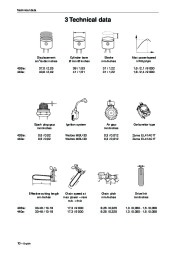
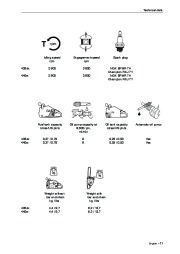
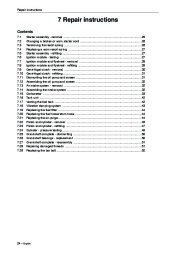
Workshop manual 435 435e 440e English Contents Workshop manual Husqvarna 435, 435e och 440e Contents Index .4 Introduction and safety instructions . 6 Technical data 10 Service tools 12 Service data . 14 Safety equipment . 16 Repair instructions 24 Carburettor .33 Troubleshooting . 53 Husqvarna AB has a policy of continuous product development and therefore reserves the right to modify the design and appearance of products without prior notice. English 3 Index Index B Bar bolt 52 Replacing the bar bolt 52 C Carburettor 33 Assemble on the saw 40 Assembly 38 Carburettor adjustment 41 Cleaning and inspection 37 Design 33 Dismantling 35 Function 34 Pressure testing the carburettor 39 Centrifugal clutch 30 Centrifugal clutch – refitting 31 Centrifugal clutch – removal 30 Inspection and cleaning 30 Chain brake 17 Chaine brake – reassembly 18 Cleaning and inspection 17 Dismantling the chaine brake 17 Chain catcher 20 Chain catcher – replacement 20 Crankcase and crankshaft 50 Crankshaft bearings – replacement 50 Crankshaft complete – dismantling 50 Crankshaft complete – reassembly 51 Symbols in the Workshop Manual 9 Symbols on the saw 9 Structure 7 Target group 7 Tools 7 O Oil pump and screen 31 Assembling the oil pump and screen 32 Cleaning and inspection 31 Dismantling the oil pump and screen 31 P Piston and cylinder 45 Cleaning and inspection 45 Cylinder – pressure testing 49 Faults and causes 47 Piston and cylinder – refitting 47 Piston and cylinder – removal 45 S Service data 14 Special tools 12 Silencer 19 Cleaning and inspection 19 Silencer – refitting 19 Silencer – removal 19 Starter 25, 26 Changing a broken or worn starter cord 26 Cleaning and inspection 25, 26 Replacing a worn recoil spring 27 Starter assembly – refitting 27 Starter assembly – removal 25 Tensioning the recoil spring 26 Start/Stop switch 20 Assembling the start/stop control 21 Cleaning and inspection 20 Dismantling the start/stop control 20 Stopping function 21 Stop switch – resistance measurement 21 F Fuel system 44 Replacing the fuel filter 44 Replacing the fuel hose/return hose 44 Replacing the air-purge 44 Venting the fuel tank 42 I Ignition module and flywheel 28 Cleaning and inspection 28 Ignition module – testing 27 Ignition module and flywheel – refitting 29 Ignition module and flywheel – removal 28 Intake system 32 Air intake system removal 32 Assembling the intake system 32, 48 Cleaning and inspection 32 Introduction and safety instructions 7 Changes 7 General 7 General Instructions 8 Numbering 7 Safety 7 Special Instructions 8 T Tank unit 42 Assembly 43 Dismantling 42 Technical Data 10 Threads 51 Repairing damaged threads
Chain Saw User Manual Free Download. Chainsaw Operator’s Manual. Chains for Chainsaws Free Instruction Manual Download PDF. Revision: 2003, 2004, 2005, 2006, 2007, 2008.
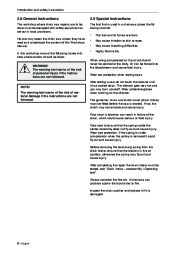
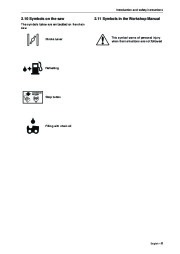
A description of different safety measures that should be taken during repair work is also given. 2.6 Structure This Workshop Manual can be used in two different ways: · · For the repair of a particular system on the chain saw. Dismantling and assembly of the entire chain saw. 2.2 Safety Note! The section dealing with safety must be read and understood by all those carrying out repair work or service on the chain saw. Warning symbols can be found in this Workshop Manual and on the chain saw. See “Symbols on the saw ” and “Symbols in the Workshop Manual “. A new decal must be applied as soon as possible if a warning symbol on the chain saw has been damaged or is missing so that the greatest possible safety can be obtained when using the chain saw. Repair of a specific system When a particular system on the chain saw is to be repaired, proceed as follows: 1. Look up the page for the system in question. 2. Carry out the sections: Dismantling Cleaning and inspection Assembling Dismantling and assembling the entire chain saw Proceed as follows when the entire chain saw is to be dismantled and assembled: 1. Look up the chapter “Repair instructions “, which deals with the Starter and carry out the instructions set out under Dismantling. 2. Work forward in the Manual and carry out Dismantling in the order set out in the sections. 3. Go back to the Starter and carry out the instructions under Cleaning and Inspection. 4. Work forward in the Manual and carry out Cleaning and Inspection in the order set out in the sections. 5. Order or take out all requisite spare parts from the stores. 6. Look up the chapter “Repair instructions ” which deals with the Crankcase and carry out the instructions set out under Assembling. 7. Work back in the Manual and carry out Assembling in the order set out in the sections. Some sections include a Description of the actual unit in order to increase the basic understanding. 2.3 Target group This Workshop Manual is written for personnel with general knowledge about the repair and service of chain saws. The Workshop Manual must be read and understood by personnel who will carry out repair work and service on the chain saw. The Manual is also suitable for use when training new employees. 2.4 Changes Modifications will be successively introduced on the chain saw during production. When these modifications affect the service and/or spare parts, separate service information will be sent out on each occasion. This means that in time this Workshop Manual will become out of date. In order to prevent this, the Manual should be read together with all service information concerning the chain saw in question. 2.5 Tools Special tools are required for some stages. All service tools are listed in the Workshop Manual. Usage is evident from respective sections. Always use Husqvarna’s original: · Spare parts · Service tools · Accessories 2.7 Numbering Position references to components inside the figures are designated A, B, etc. The figures are numbered 1, 2 etc.
Wikipedia’s page for Husqvarna
Publisher: www.husqvarna.com


 2003-2008 Husqvarna 435 435e 440e Chainsaw Workshop Manual, 2003,2004,2005,2006,2007,2008 - Enlarge page 1 of 56
 2 of 56
 3 of 56
 4 of 56
 5 of 56
 6 of 56
 7 of 56
 8 of 56
 9 of 56
 10 of 56
 11 of 56
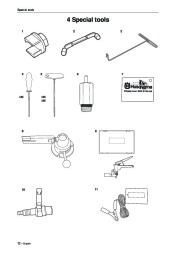 12 of 56
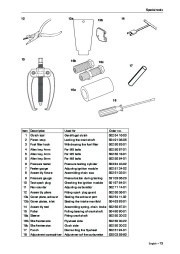 13 of 56
 14 of 56
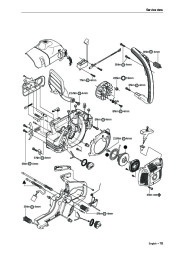 15 of 56
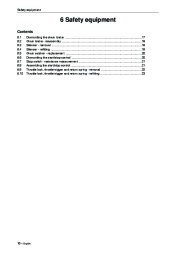 16 of 56
 17 of 56
 18 of 56
 19 of 56
 20 of 56
 21 of 56
 22 of 56
 23 of 56
 24 of 56
 25 of 56
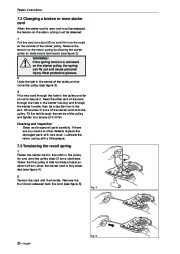 26 of 56
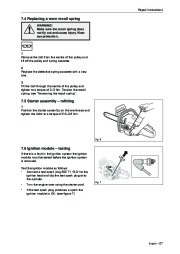 27 of 56
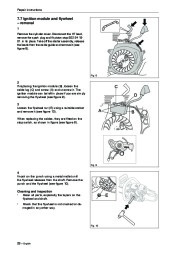 28 of 56
 29 of 56
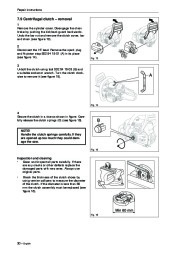 30 of 56
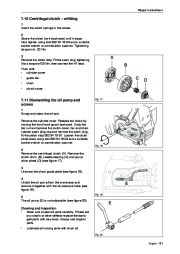 31 of 56
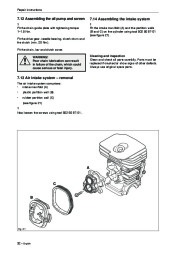 32 of 56
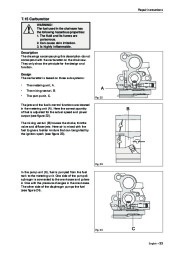 33 of 56
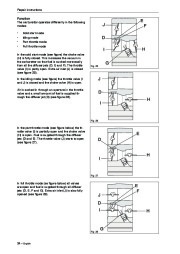 34 of 56
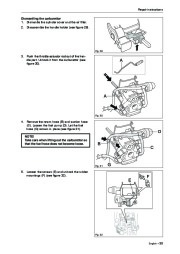 35 of 56
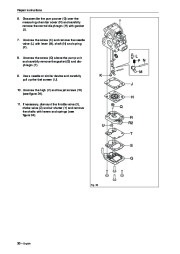 36 of 56
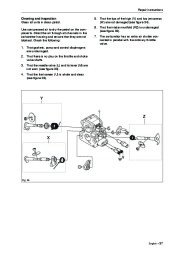 37 of 56
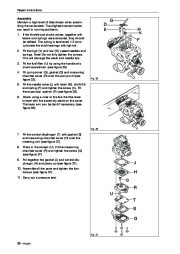 38 of 56
 39 of 56
 40 of 56
 41 of 56
 42 of 56
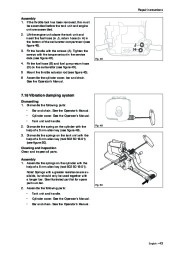 43 of 56
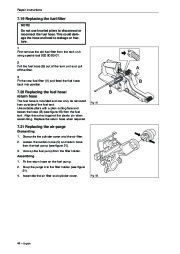 44 of 56
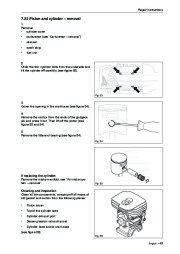 45 of 56
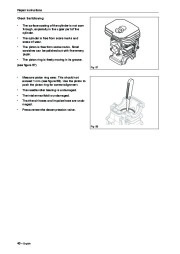 46 of 56
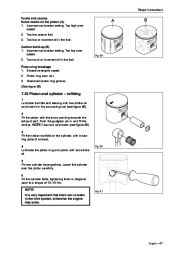 47 of 56
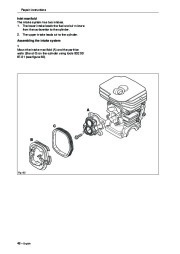 48 of 56
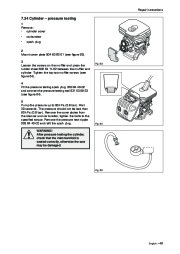 49 of 56
 50 of 56