From inside (document excerpt):
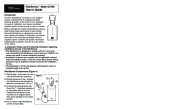
RainSensorTM Model 53769 User’s Guide Introduction The Toro RainSensor connects to your irrigation system controller/timer to suspend automatic watering operation in the event of rain. Designed for ease of installation, your sensor-controlled irrigation system will be up and running in minutes. Before attempting to install the RainSensor, please read through these instructions in their entirety. Since the RainSensor is designed to work with most makes and models of controllers, you should also refer to the instructions provided with your irrigation system controller for specific information regarding the connection and use of a rain sensor or rain switch.
Lawn Sprinkler User Manual Free Download. Irrigation Free Instruction Manual Download PDF.
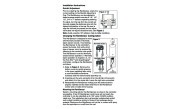
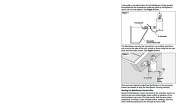
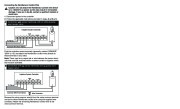
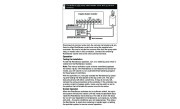
Important: Please note the following information regarding installation and use of the RainSensor. · The RainSensor is designed to operate with 24 V ac power only. Connecting the RainSensor control wiring to 120/240 V ac power may result in severe equipment damage. · Installation methods must comply with all applicable national and local building codes. If you are unsure about proper wiring practices, have a qualified contractor perform the installation for you. · The RainSensor unit should never be submerged in water or installed inside a rain gutter. RainSensor Components (Figure 1) 1 – Test Spindle – Press down to manFigure 1 ually test RainSensor operation. 2 – Rainfall Adjustment Cap – Enables the RainSensor to be adjusted for detection of rainfall from 1/8 ” to 1 “. 3 3 – Universal Mounting Bracket with Quick-ClipTM – Simplifies installation on rain gutter, side of roof, etc. Enables the RainSensor to be mounted on an angled surface then easily adjusted to the vertical position. 4 4 – 25′ of outdoor-rated RainSensor control wire provided. 1 2 Installation Instructions Rainfall Adjustment Prior to installing the RainSensor, check the Figure 2 current setting on the Rainfall Adjustment Cap. The RainSensor can be adjusted to detect average rainfall amounts of 1/8 “, 1/4 “, 1/2 “, 3/4 ” or 1 ” before suspending watering. 1/4 ” To adjust, turn the cap from the current set3/4 ” ting and engage the stationary pins with the desired slot position in the cap. Be sure to align the slot and pin properly as this adjustment does not require excessive force. See Figure 2. Note: Avoid using the 1/8 ” setting in high-humidity conditions. 1/8 ” 1/2 ” 1 ” Changing the RainSensor Configuration The RainSensor is designed to work Figure 3 with Normally Closed or Normally Open sensor circuits. If connecting Normally Closed the RainSensor to the controller’s sensor terminals, first verify which type of sensor circuit is required by referring to the controller user guide. The RainSensor is set for Normally Closed sensor operation. If Normally Open operation is required; i.e., for Normally Open the Toro ECxTM and GreenKeeper® controllers, configure the RainSensor as follows: 1. Refer to Figure 3. Remove the bottom cover by gently pressing in the lower opposing tabs using a small flat-blade screwdriver. Carefully slide the switch board assembly out. 2. Carefully pull the wire connector from the left tab of the switch and attach it to the center tab. Leave the right wire connected. 3. Reassemble the RainSensor making sure the switch board is properly inserted and the strain-relief knot in the RainSensor control wire is inside of the housing. Mounting the RainSensor Select a mounting site for the RainSensor as close to the controller as possible.


 Toro Owners Manual - 1 of 7
 Toro Owners Manual - 2 of 7
 Toro Owners Manual - 3 of 7
 Toro Owners Manual - 4 of 7
 Toro Owners Manual - 5 of 7
 Toro Owners Manual - 6 of 7
 Toro Owners Manual - 7 of 7